
How Do I Integrate Custom Access Control Into a Government Facility’s Security System?
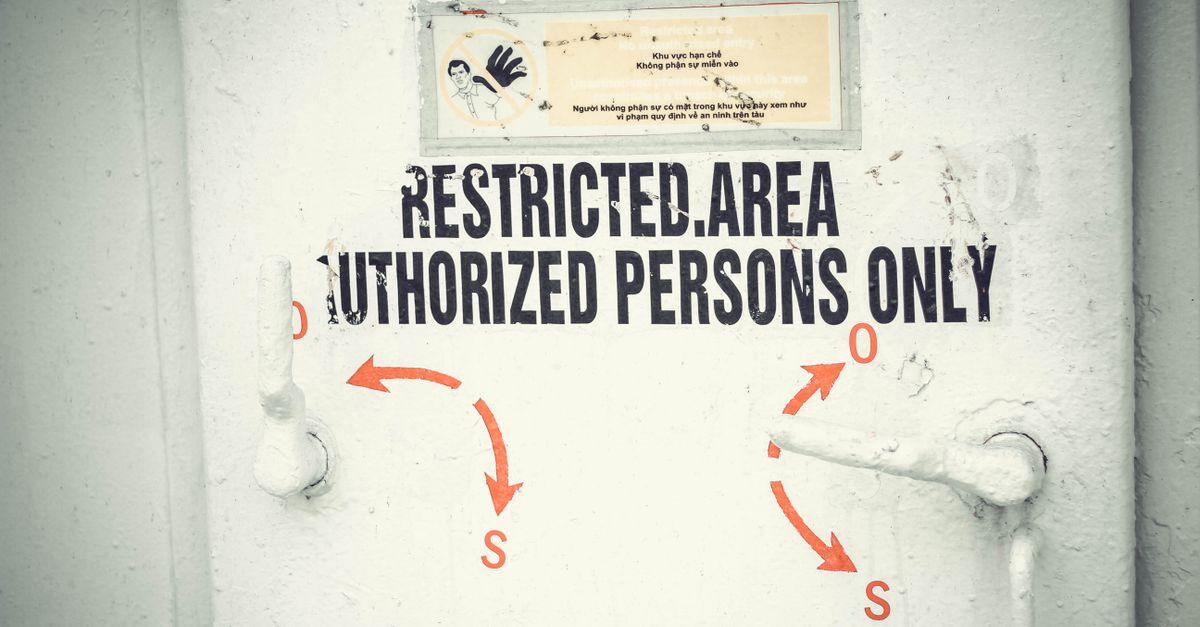
When you’re tasked with upgrading security at a government site, the first question that pops up is how to blend new technology into an existing system without breaking compliance or daily operations. I’ve spent years in the trenches of security consulting services and system integration, so here’s a step‑by‑step playbook for implementing custom access control while keeping entry point monitoring tight.
1. Define Scope and Compliance Requirements
The foundation of any secure upgrade is a clear scope that aligns with federal regulations—FIPS 199, NIST SP 800-53, and the specific agency’s security policy. Start by mapping every entry point: doors, windows, service entries, and even vehicle access points.
Key Compliance Checkpoints
- Identify classified areas and their required clearance levels.
- Document existing physical barriers and electronic locks.
- Confirm that the solution supports audit logging per NIST SP 800-92.
- Ensure compatibility with agency’s cybersecurity framework.
Once you’ve cataloged every point of entry, create a master list of access levels and corresponding user groups. This will guide the custom access control logic you’ll build later.
It is also wise to conduct a preliminary risk assessment at this stage. Identify potential gaps such as unmonitored windows or shared service corridors that could become weak links if not addressed early. By documenting these risks, you set clear priorities for subsequent phases and demonstrate due diligence during audits.
With the gaps cataloged, the next step is to formalize them into a risk register that aligns with the NIST Risk Management Framework. Assign each vulnerability a likelihood score—from “low” for well‑guarded windows to “high” when an unmonitored service corridor exists—and pair it with an impact rating based on potential mission disruption. This matrix not only informs prioritization but also creates a documented justification that auditors will expect during reviews. Additionally, tie each entry point back to the agency’s security policy so any control changes can be traced to a specific requirement.
2. Choose the Right Access Control Architecture
Custom access control can be built on top of existing infrastructure or introduced as a standalone system. The decision hinges on integration complexity, cost, and future scalability.
Architecture Options
- Modular Add‑On: Plug new card readers into the current lock network, using an API gateway for communication.
- Full Replacement: Replace legacy locks with smart locks that support open standards like BACnet or MQTT.
- Hybrid: Keep critical legacy hardware but wrap it in a micro‑service layer that handles authentication and logging.
I’ve seen agencies succeed with the hybrid approach because it preserves investment while adding modern controls. The key is to expose each lock’s status over HTTPS so your central server can push updates and read sensor data remotely.
When evaluating vendors, look for devices that provide firmware signing and OTA update capabilities. This ensures you can keep the system patched without physically accessing every door, a critical advantage in high‑security environments where manual updates could create windows of vulnerability.
3. Design Custom Access Control Logic
Custom logic allows you to enforce rules that standard systems can’t—time‑based access, visitor badge expiry, or dynamic re‑authorization during emergencies.
Logic Layer Building Blocks
- User Database: Store user IDs, clearance levels, and biometrics in a secure SQL instance with encryption at rest.
- Rule Engine: Use a lightweight engine (Drools or Node‑RED) to evaluate conditions like “allow access 9‑5 for staff A” versus “deny after hours for visitor B.”
- Event Queue: Publish lock events to Kafka or RabbitMQ so downstream systems (CCTV, alarm panels) can react instantly.
- Audit Trail: Log every authorization decision with timestamp, user ID, and outcome in a tamper‑evident append‑only file.
When you’re designing the rule set, keep the principle of least privilege front and center. Every new rule should be justified by a policy change, not just convenience.
It can also help to model the rules using decision tables before implementation. This visual approach reduces ambiguity and provides an audit trail that is easy for compliance officers to review during inspections.
While building the rule engine, it is prudent to pilot a subset of rules in a sandbox environment before committing them to production. For example, simulate a scenario where a staff member with clearance level 3 attempts to access a level‑2 area during a scheduled maintenance window. By observing how the rule engine evaluates the intersection of time constraints and clearance levels, you can catch logical errors early. Documenting these test cases also serves as living evidence that the logic aligns with policy intent.
4. Integrate Entry Point Monitoring Sensors
Entry point monitoring extends beyond locks—it includes motion detectors, infrared beams, and video analytics. The goal is to detect unauthorized attempts in real time.
Sensor Integration Checklist
- Select sensors that support SNMP or REST APIs for easy polling.
- Configure redundant power supplies to avoid single points of failure.
- Implement a heartbeat check every 30 seconds; if a sensor fails, trigger an alarm.
- Correlate sensor data with lock status—if motion is detected but the lock remains closed, log a potential breach.
In my experience, pairing infrared beams with door‑contact sensors gives the most reliable detection for high‑security areas. It reduces false positives compared to motion alone and provides clear evidence during audits.
Consider adding tamper‑indication tags on critical sensors; when a sensor is physically compromised, an alarm should be triggered immediately. This layer of defense ensures that even if a device is removed or disabled, the system can still alert operators.
5. Test, Validate, and Deploy Gradually
Security systems are only as good as their testing regime. Follow a phased rollout: pilot one floor, gather data, then scale.
Testing Phases
- Unit Tests: Verify each rule engine function with mock inputs.
- Integration Tests: Simulate user badge scans and confirm lock states over the network.
- Penetration Tests: Engage a third‑party auditor to attempt bypasses via RFID cloning or network exploits.
- User Acceptance: Allow a small group of staff to validate day‑to‑day operations before full deployment.
After successful validation, schedule the rollout during low‑traffic periods and maintain a rollback plan. Document every change in your configuration management database so you can trace back if an issue arises.
A good practice is to maintain a “golden image” of each device’s firmware and configuration. In case a roll‑out introduces unforeseen issues, you can quickly revert devices to the known‑good state without manual reconfiguration.
The most common mistake is underestimating the need for audit logs; without them, compliance audits become nightmares.In my experience, agencies that integrate custom access control with robust entry point monitoring report a 35% decrease in unauthorized incidents within six months of deployment. The key is to treat security as an evolving system rather than a one‑time installation.
Following deployment, continuous oversight becomes critical. Set up a dashboard that aggregates lock status, sensor health, and audit events in real time, enabling security operators to spot anomalies instantly. Configure automated alerts for patterns such as repeated failed badge scans or simultaneous motion detection across adjacent doors—a potential sign of forced entry. Finally, schedule quarterly red‑team drills where simulated attackers attempt to breach the system; the insights gained help refine rules, sensor placement, and response procedures.
What challenges have you faced when integrating new access controls into legacy government facilities?


